Changing The Pattern: Managing the Project App Grid
Functionality described here requires a project leader role. For admins without a project leader role it is not available.
A project leader can see and edit the apps on the start page of a project in the Applications tab of that project.
Viewing Apps Within A Project
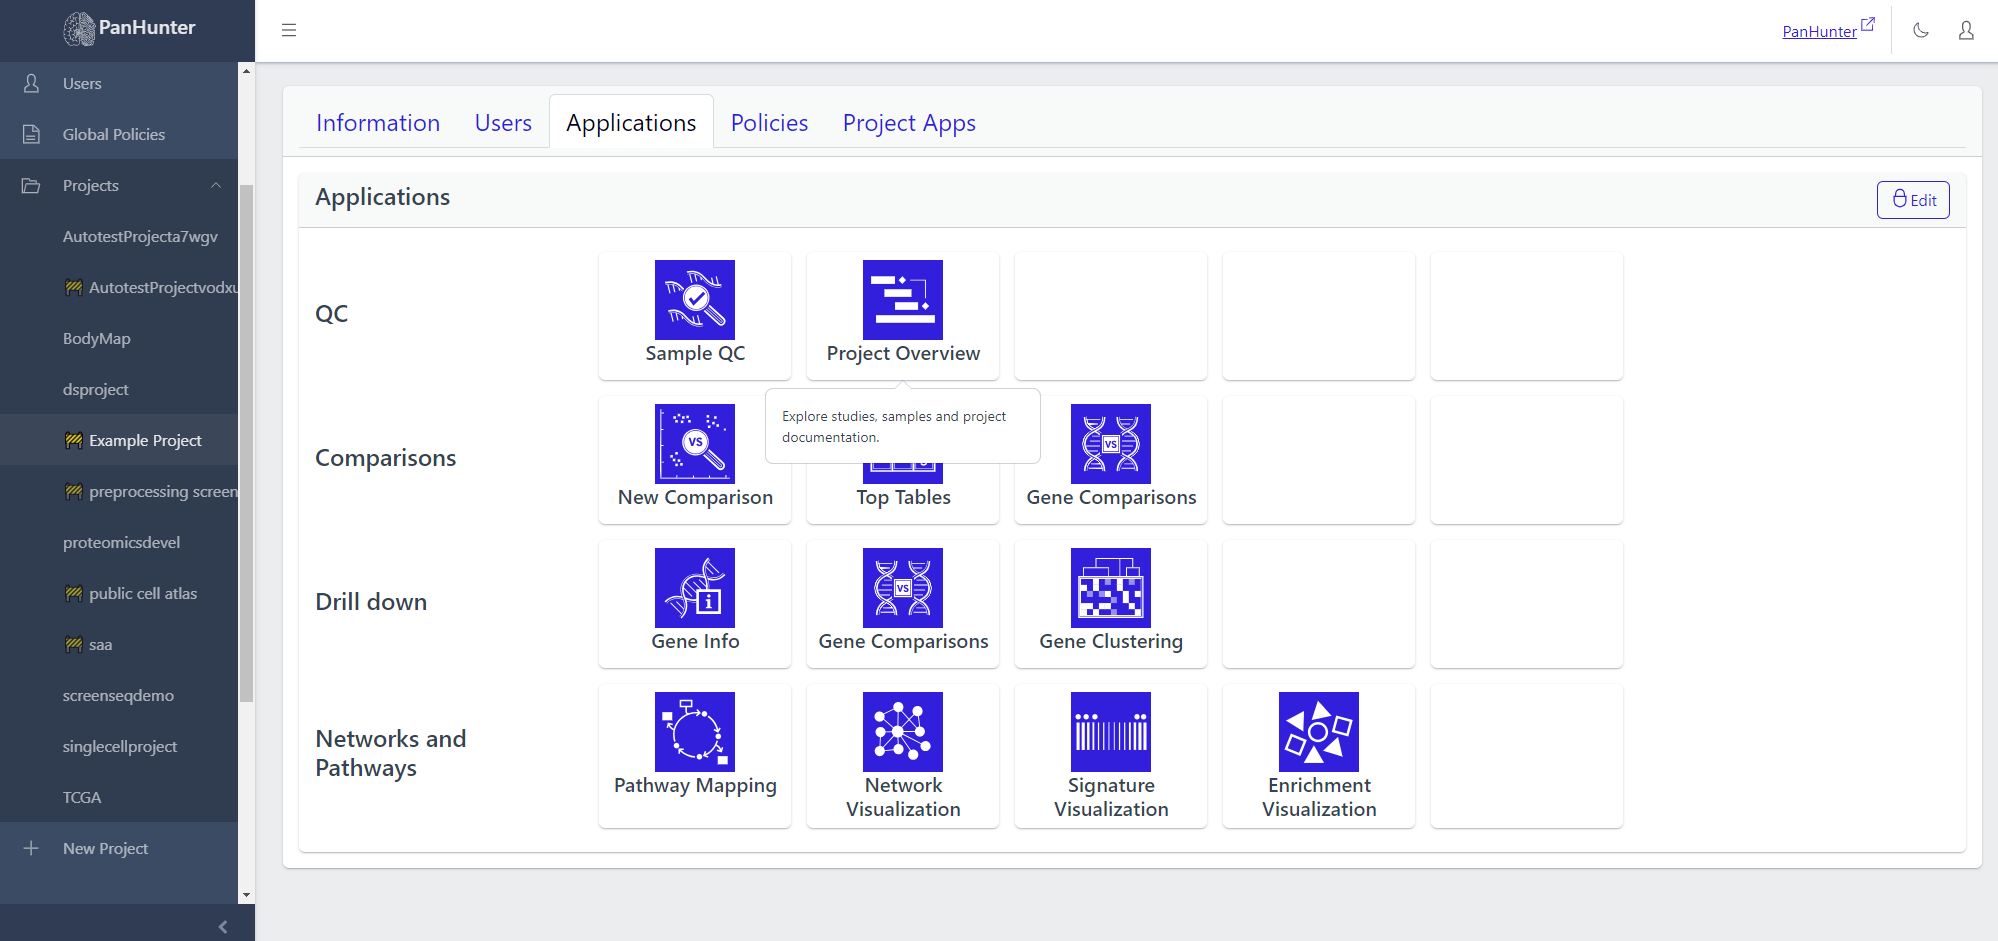
Going to Project > Applications shows which apps will be displayed on this project’s start page. Hovering the cursor over one of the app icons displays the app description.
Changing Apps In A Project
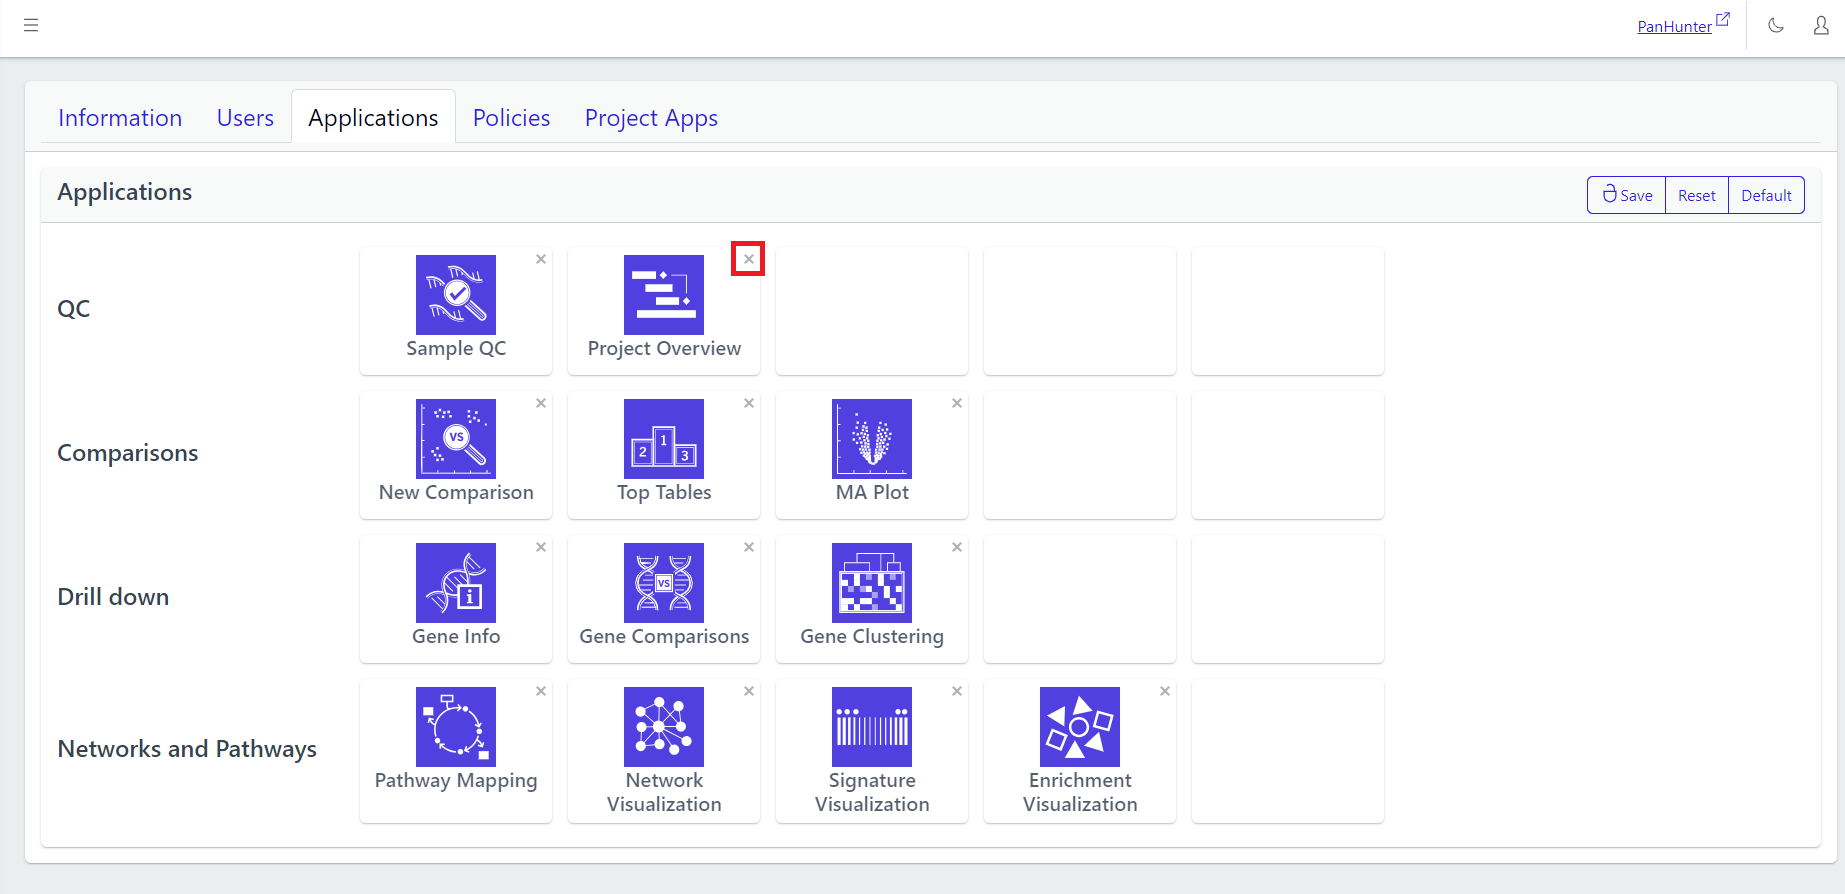
Clicking Edit in the top right corner allows to modify the start page content. Here the apps can be moved around to arrange the apps of the project start page differently.
Clicking on x next to an app allows its removal.
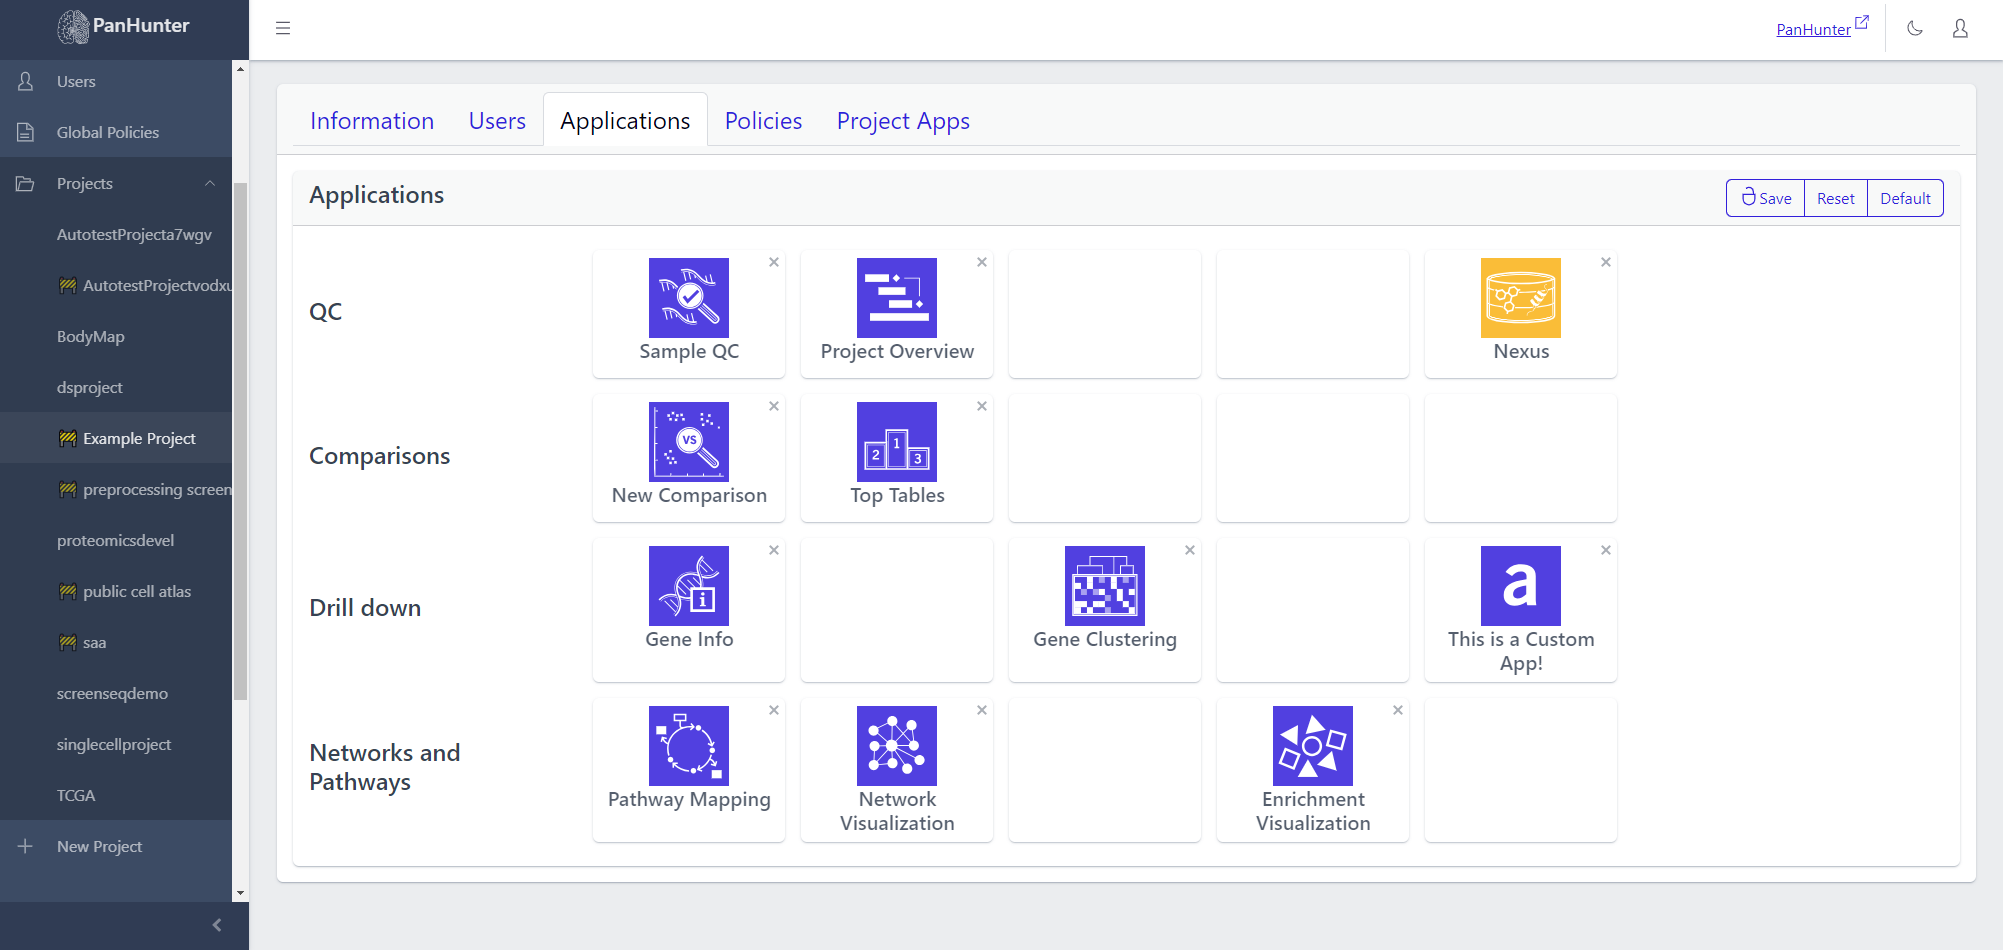
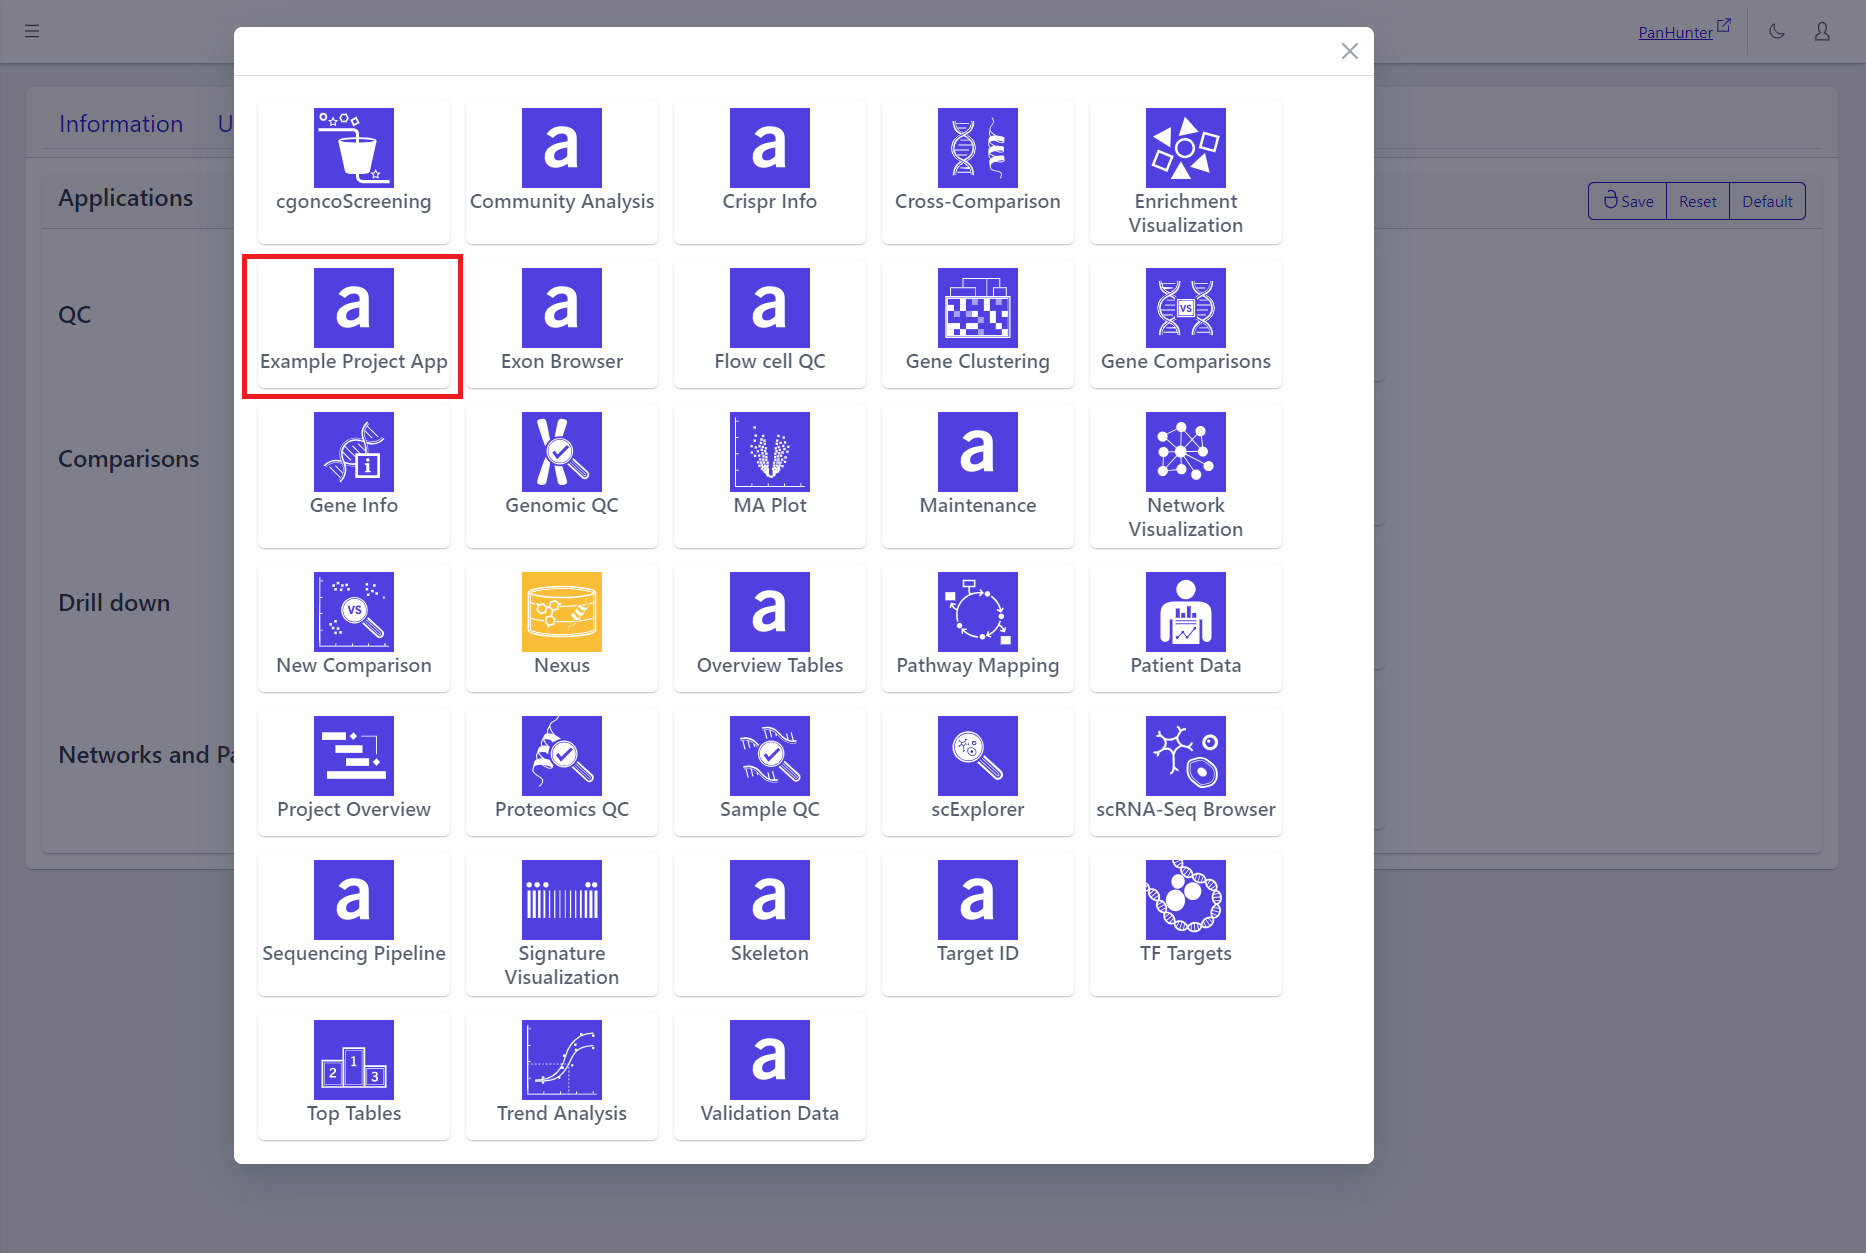
Clicking on one of the squares in the grid, whether empty or not, brings up an App selection menu. Hovering over one of these apps displays the corresponding description. This menu contains both the core apps available to all projects, but also previously added project-specific and prototype apps. Also see the article about project-specific and prototype apps.
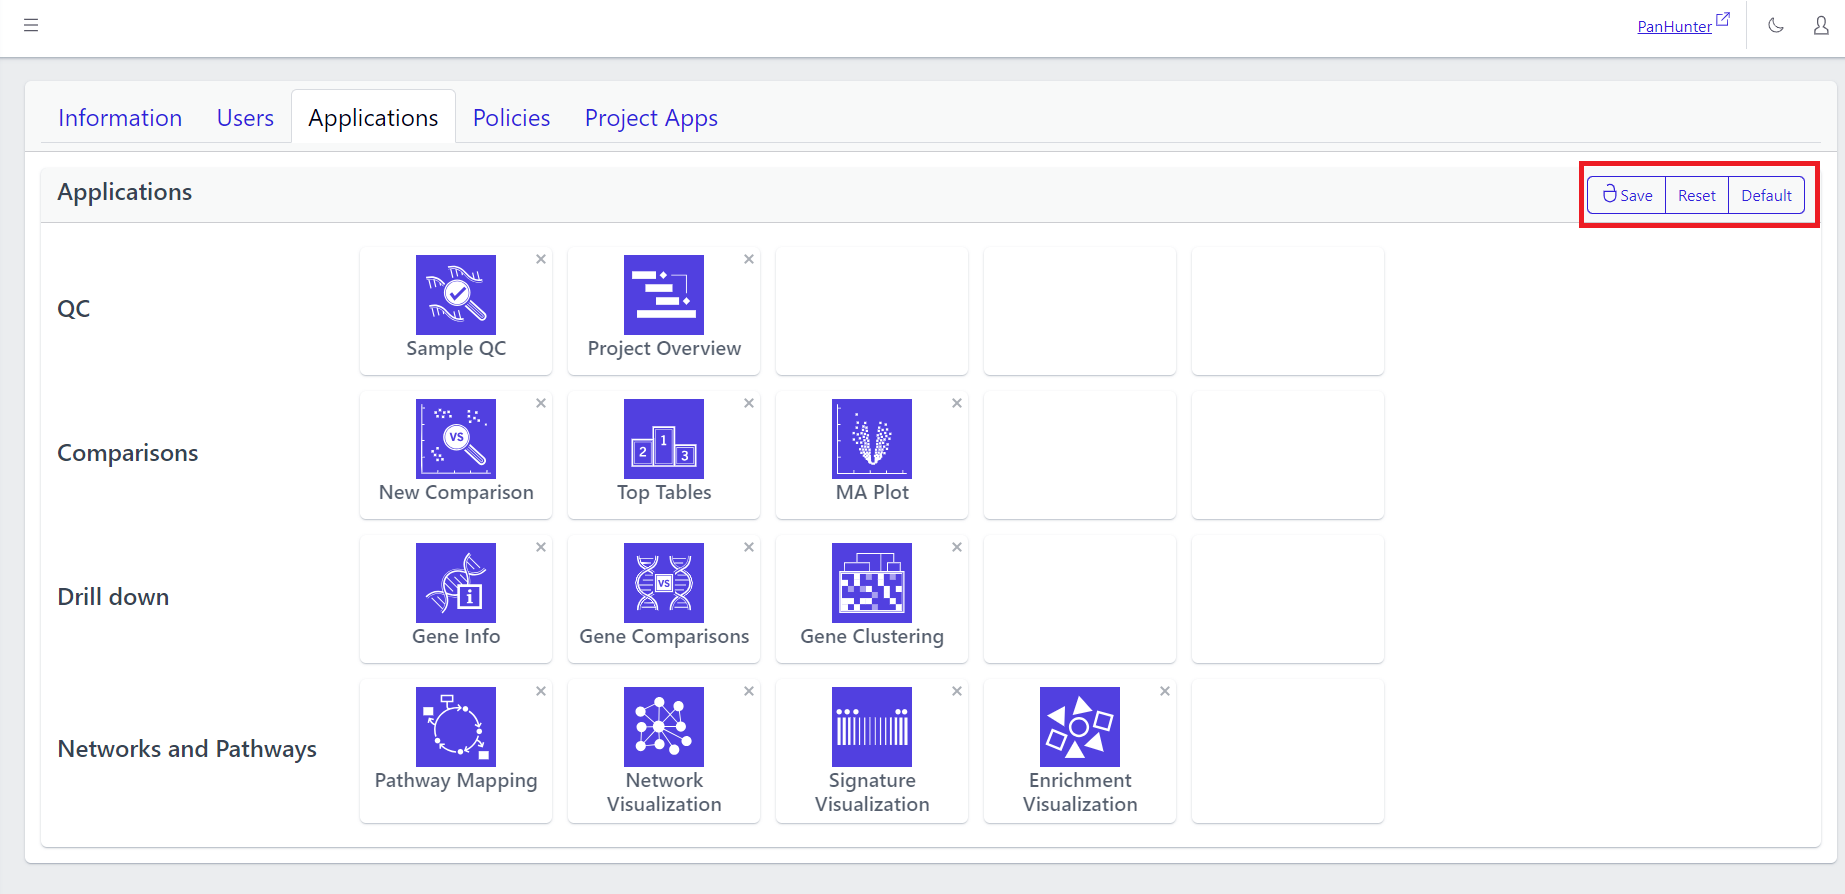
In the grid:
- Clicking Save lets a user save the current changes.
- Clicking Reset returns the grid to its state when the Edit button was last clicked.
- Clicking Default replaces the current grid with a base application grid corresponding to the basic PanHunter setup:
- the PanHunter apps common to most projects are present in the grid.
- less frequently used apps, such as those involving Single Cell Data, or Patient Data, are not present in the grid.