Getting People Involved: Managing Project Users
A project leader can not only view the users within a project, they can also add users, delete users, or change the roles of existing users. To do this, they should select a project in the sidebar, and go to the Users tab.
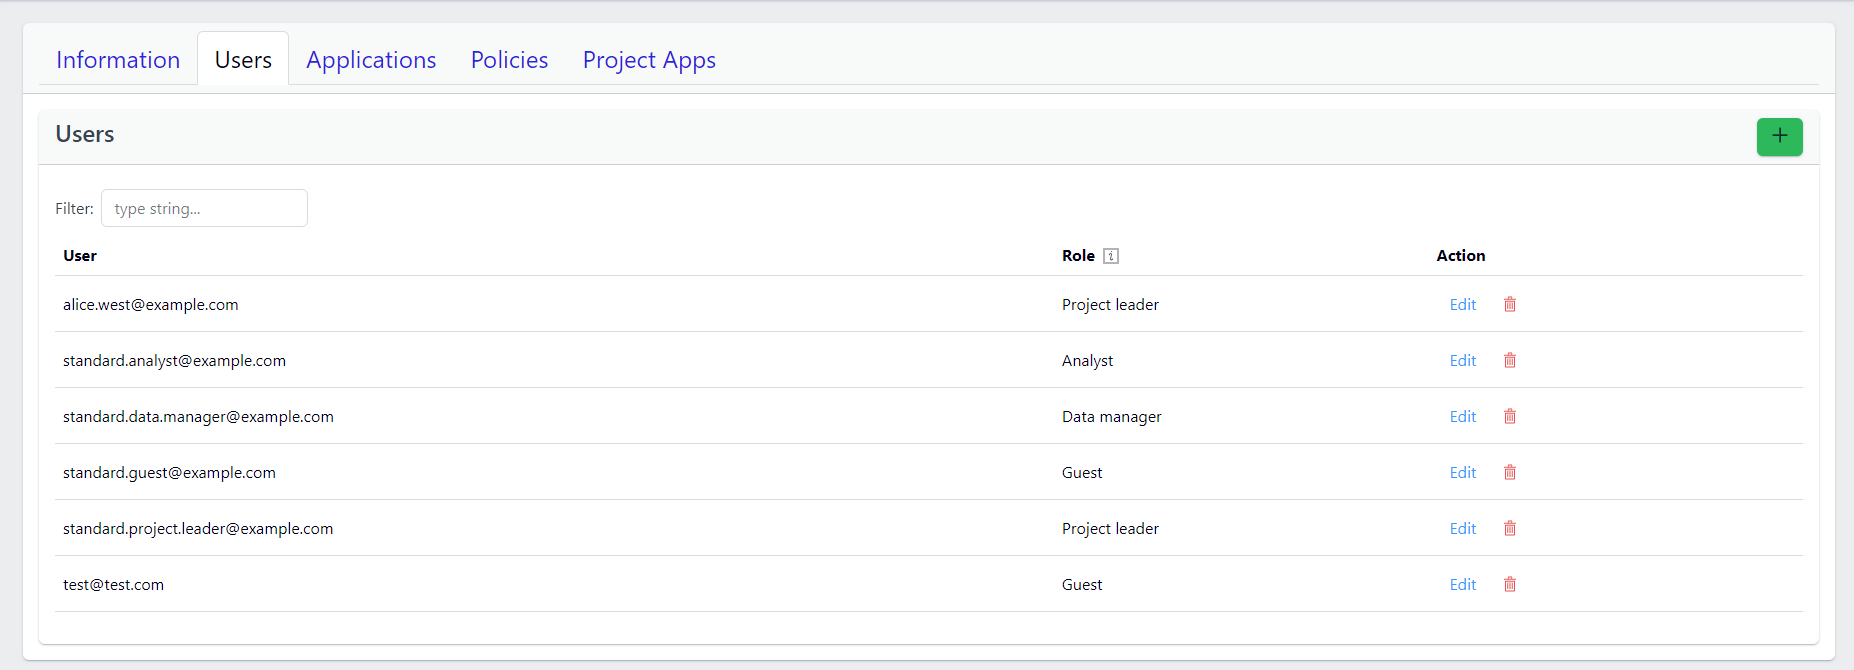
This tab provides a list of users and their role in the project.
- There is a ‘Filter’ option for searching existing users from the user list.
- Additionally, you can edit the user information using the Edit option and also remove them using the Delete option.
- Near the ‘Role’ header, there is an information ‘i’ icon, hovering over it gives you a description about the roles which can be assigned to the users.

Adding users can be done by clicking on the “+” button, and editing and deleting users can be done via the action column visible to project leaders.
Adding users
To add users, a project leader should click on the “+” button, enter the registration e-mail of a PanHunter user, and select the desired role from the drop-down list.

Click the “+” button in the pop-up window next to the specified user enables adding further users, and the “trash symbol” button to remove any users not to add.
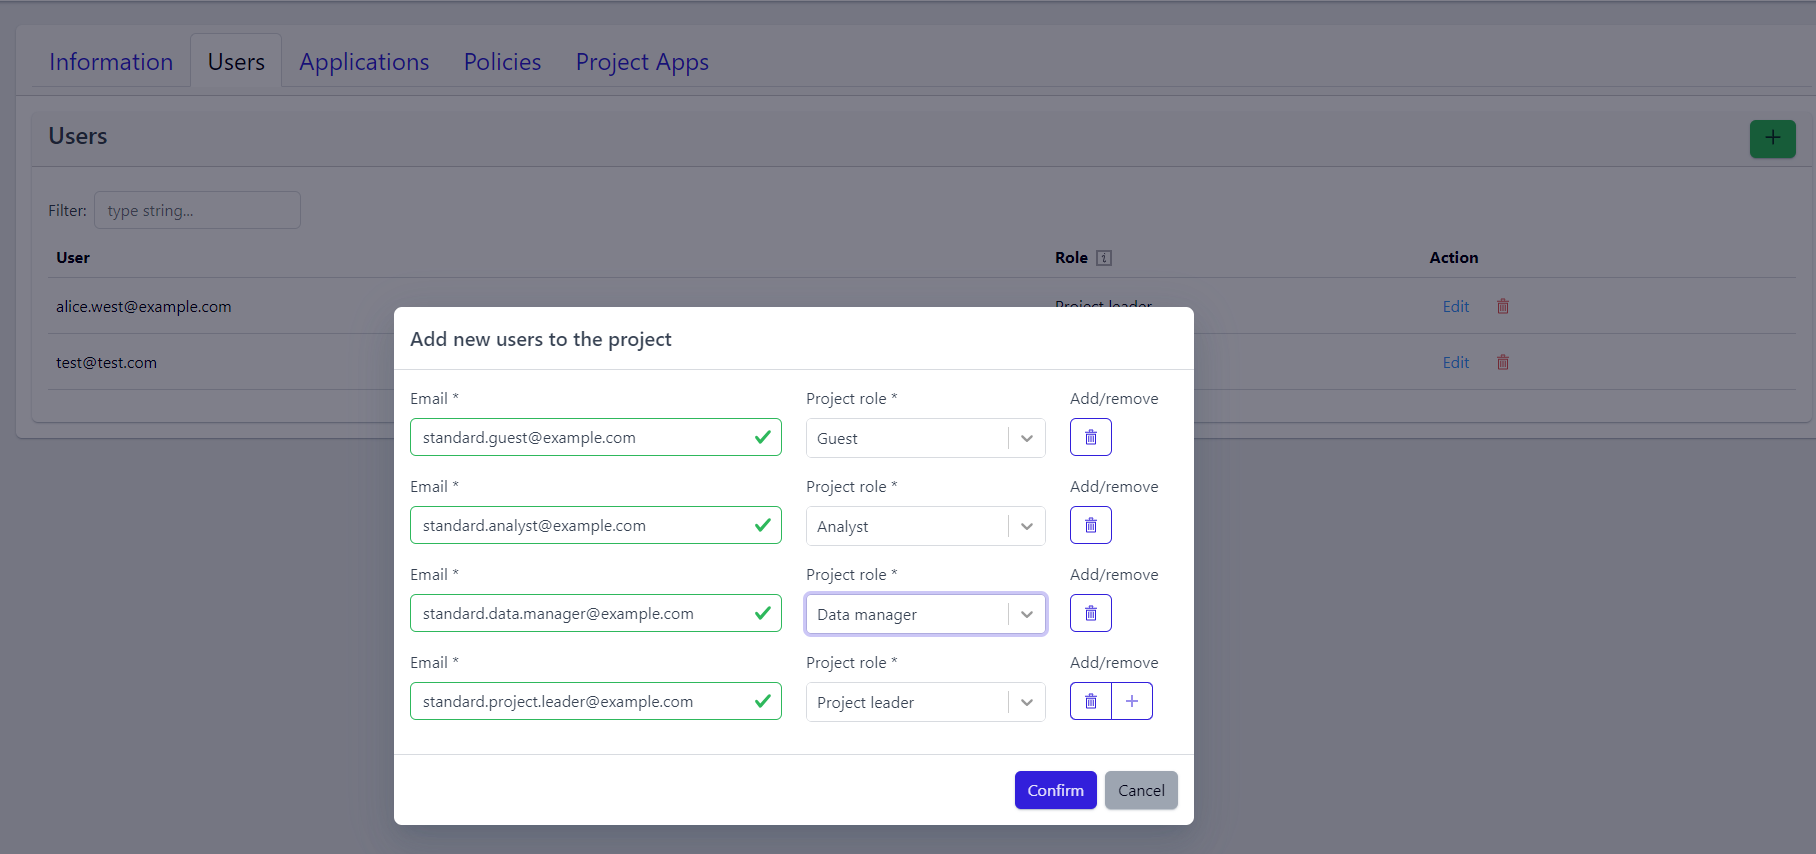
Once the project leader confirms, the pop-up window closes and the users are added to the project.
📝 Note: User email addresses first need to be registered to the instance. In case you can’t find user email address, please contact the instance admin or PanHunter Support.
Editing Users
To edit a user´s role, a project leader should click on “Edit” in that user´s row, select the new role from the drop-down list, and confirm.
Deleting Users
To delete a user, a project leader should click on the “Trash icon” symbol, and confirm their decision. That user is then removed from the project, though they remain a PanHunter user.